
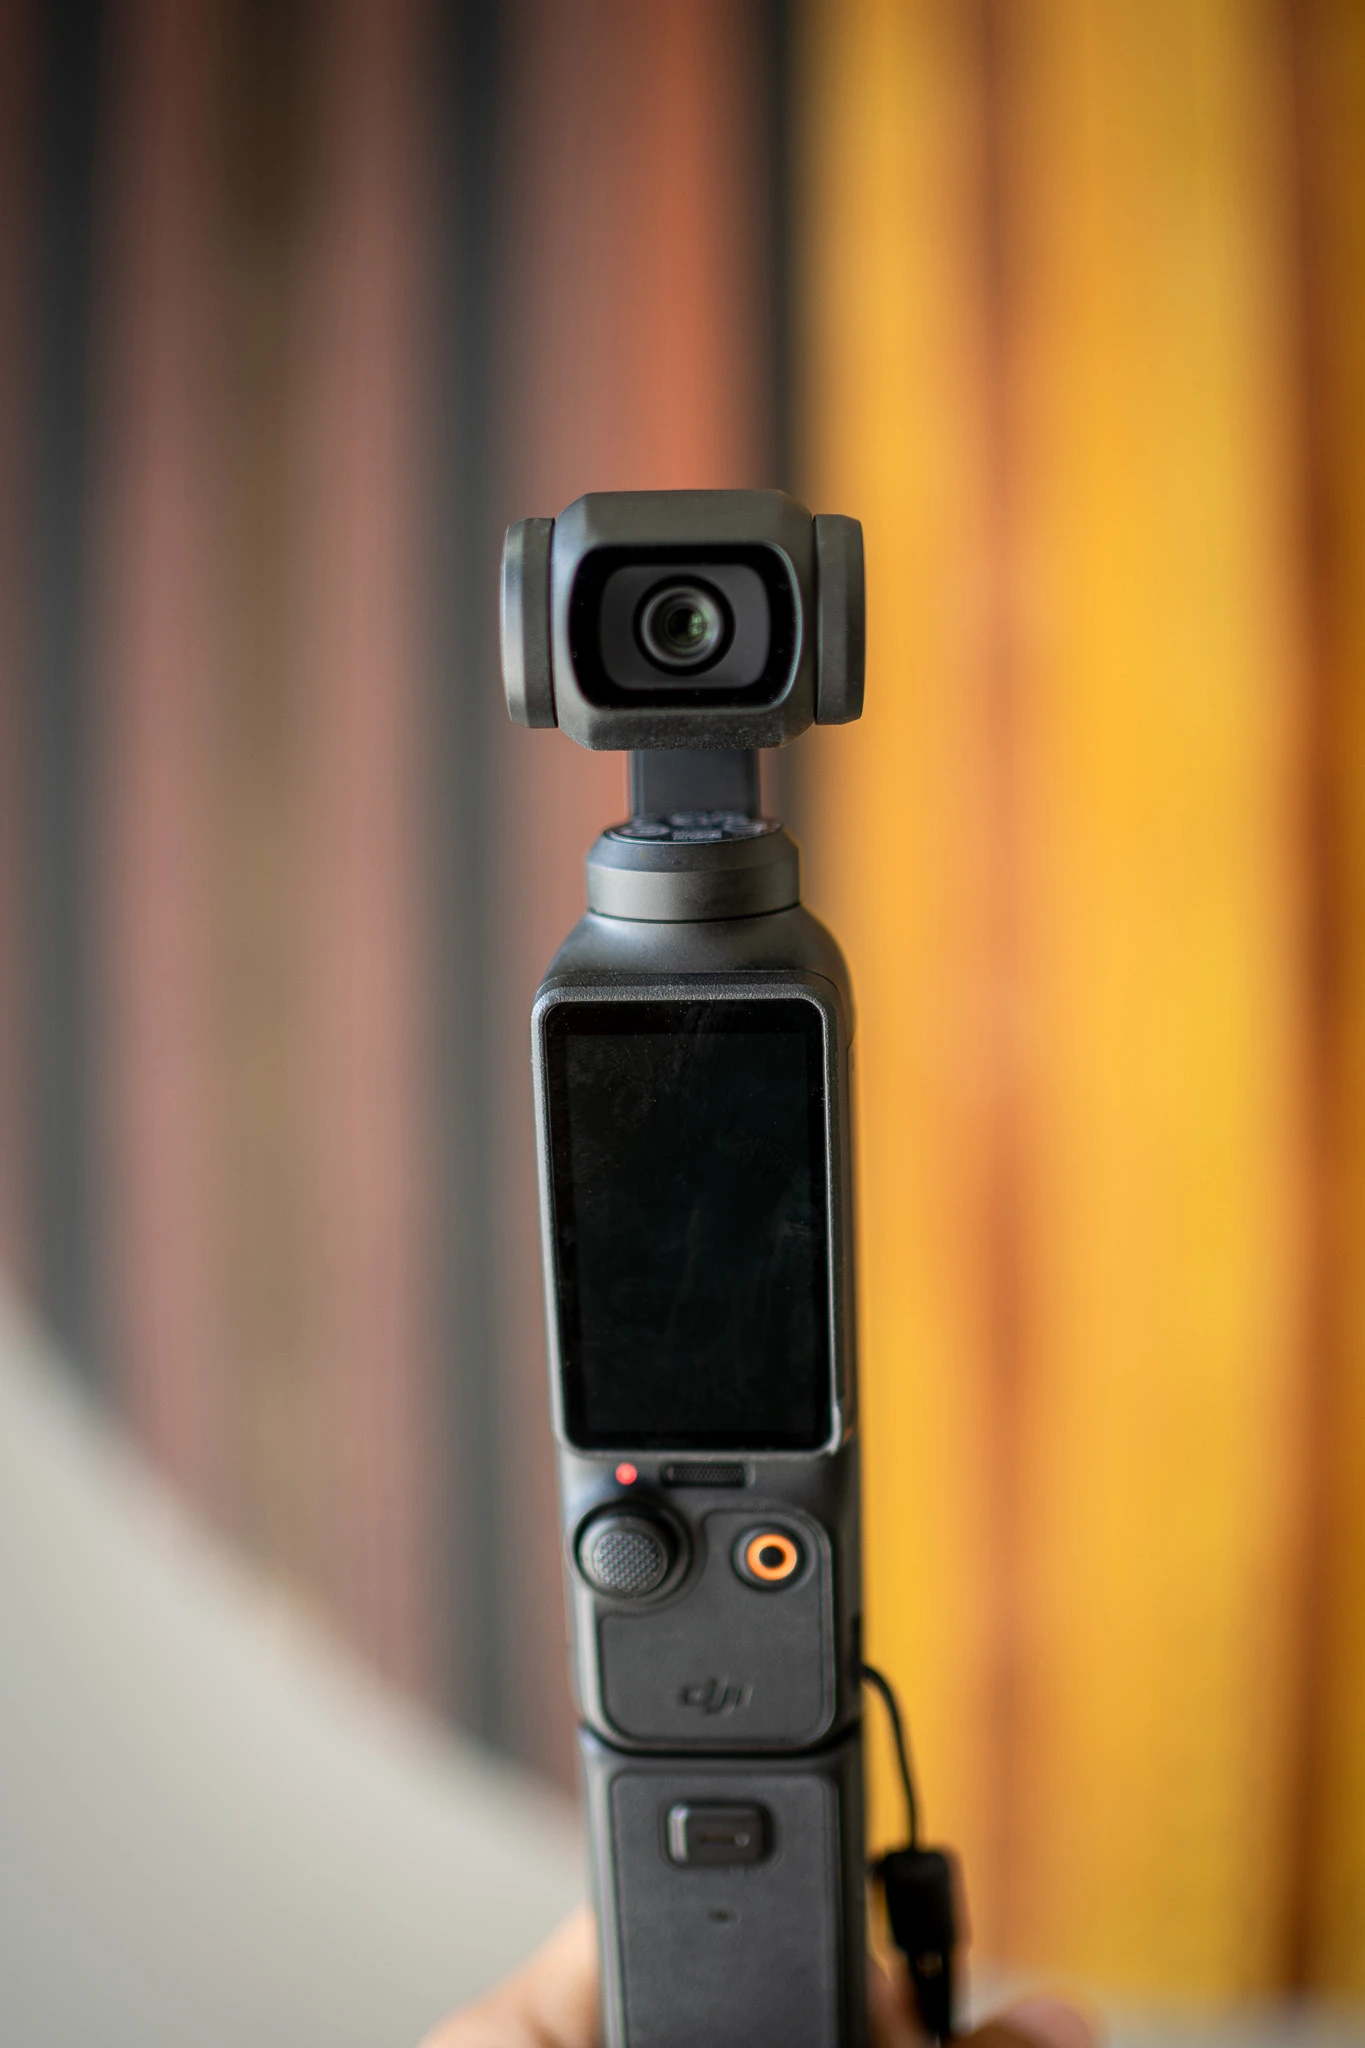
The DJI Pocket has made my content creation game seamless! It’s designed for vlogging short and long-form content.
it’s also super compact and easy to use.
In this post, we’ll go over the best Instagram Reel and TikTok video settings on your DJI Pocket Osmo 3.
Related: Honest DJI Osmo Pocket 3 Review
Best DJI Osmo Pocket Settings for Instagram and TikTok Videos
These are the settings I recommend to get the highest quality and smoothest videos to post on social media apps.
To get to the settings, you’ll have to click the video icon (bottom left) and then swipe left to bring up all your video settings.
Change your settings to the ones we’ve recommended below.
RESOLUTION
Set to: 1080
Why? Instagram only supports videos up to 1080 resolution. Instagram’s algorithm compresses videos with a higher resolution which may look terrible after they’ve been converted. I would use 4K only when the platform I am uploading to supports it, such as YouTube.
Another workaround is to film your videos in 4K, run them through an editing app such as CapCut or InShot, and then exporting to 1080 before uploading them to your social media accounts.
FPS (Frames Per Second)
Set to: 60
Why? 60 FPS is recommended for reels and gives you the ability to slow down videos when needed.
ASPECT RATIO
Set to: Can be 16:9 or 1:1
Why? It depends on what you are trying to do. I usually use an aspect ratio of 16:9 becuase I can always crop the video into a square shape.
White Balance (WB)
Set to: AWB (Auto White Balance) will often do the trick. But if you need more warmth in your images (to reduce the blue hues), turn it onto manual and crank it up to around 4,500+.
Why? WB will automatically adjust to what is needed. You can use manual WB settings, but AWB usually works fine in most settings.
EXPOSURE
Set to: -0.3EV
Why? Slightly underexposing a video prevents blown-out highlights. You can also use these black mist filters to fix highlights.
ISO
Set to: 50-6400
Why? Higher ISO is great for filming in all conditions, including dimly lit settings.
COLOR
Set to: Normal
Why? I found the normal color setting is great for general filming, and requires little editing and processing afterward. D-Log M is good for color grading as it preserves all the highlights and shadows. If you do not plan on color grading, use Normal. HLG is just HDR but it’s not always necessary.
FOCUS MODE
Set to: Continuous
Why? Focuses on objects that come into view of the lens. You can tap the screen to focus on a subject or use facial tracking by pressing down on the screen.
SHARPNESS
Set to: 1
Why? Makes your videos look sharper. I like using this feature because it looks more high quality.
NOISE REDUCTION
Set to: -1
Why? Noise is what makes videos look grainy. Reduce the graininess to get softer and smoother-looking videos.
ROTATIONAL SPEED
Set to: Regular
Why? This controls the speed at which your gimbal rotates when locked onto a subject. I find that normal works fine for my food, fashion, and travel videos.
SLIDER CONTROL
Set to: Zoom
Why? Turn zoom on so that you can zoom in on your subject.
SELFIE FLIP
Set to: Off
Why? Prevents text in your videos from being mirrored and text appearing backwards.
JOYSTICK SPEED
Set to: Zoom -1, Gimbal -1
Why? Allows you to control the joystick more easily. I like my joystick to be slower and more natural than how I would pan a camera manually with my hands.
VIDEO COMPRESSION
Set to: HEVC
Why? HEVC can compress videos into smaller file sizes without sacrificing quality.
GRID
Set to: On
Why? Grids will appear on the screen and help you with framing your subject. I also use this selfie tripod to stabilize the camera while shooting and use a countdown timer on the DJI MIMO App to capture content.
Here is an example of a video I created using my DJI Pocket 3 with these settings:
View this post on Instagram
Related: Honest DJI Osmo Pocket 3 Review
Feel free to use these settings as a starting point. Eventually, you will determine your own setup from experience.
Want to learn how to get the best photos with your DJI pocket? Visit our post about the best DJI Pocket Photo settings to find out!
Follow us @schimiggy on Instagram for more content creation tips!
Shop DJI Favorites + Accessories
If you found our best DJI Osmo Pocket settings helpful, please share this post. Thanks for your support!
Thank you for visiting today! If you found this encouraging or informative, please connect with us on Instagram or TikTok. Sign up for our monthly newsletter for updates and more. We promise we won't spam you! Feel free to unsubscribe anytime. If you're a brand and want to work with us, please visit this page to get in touch.