When I first get a new tech toy, I always spend some time figuring out the best settings.
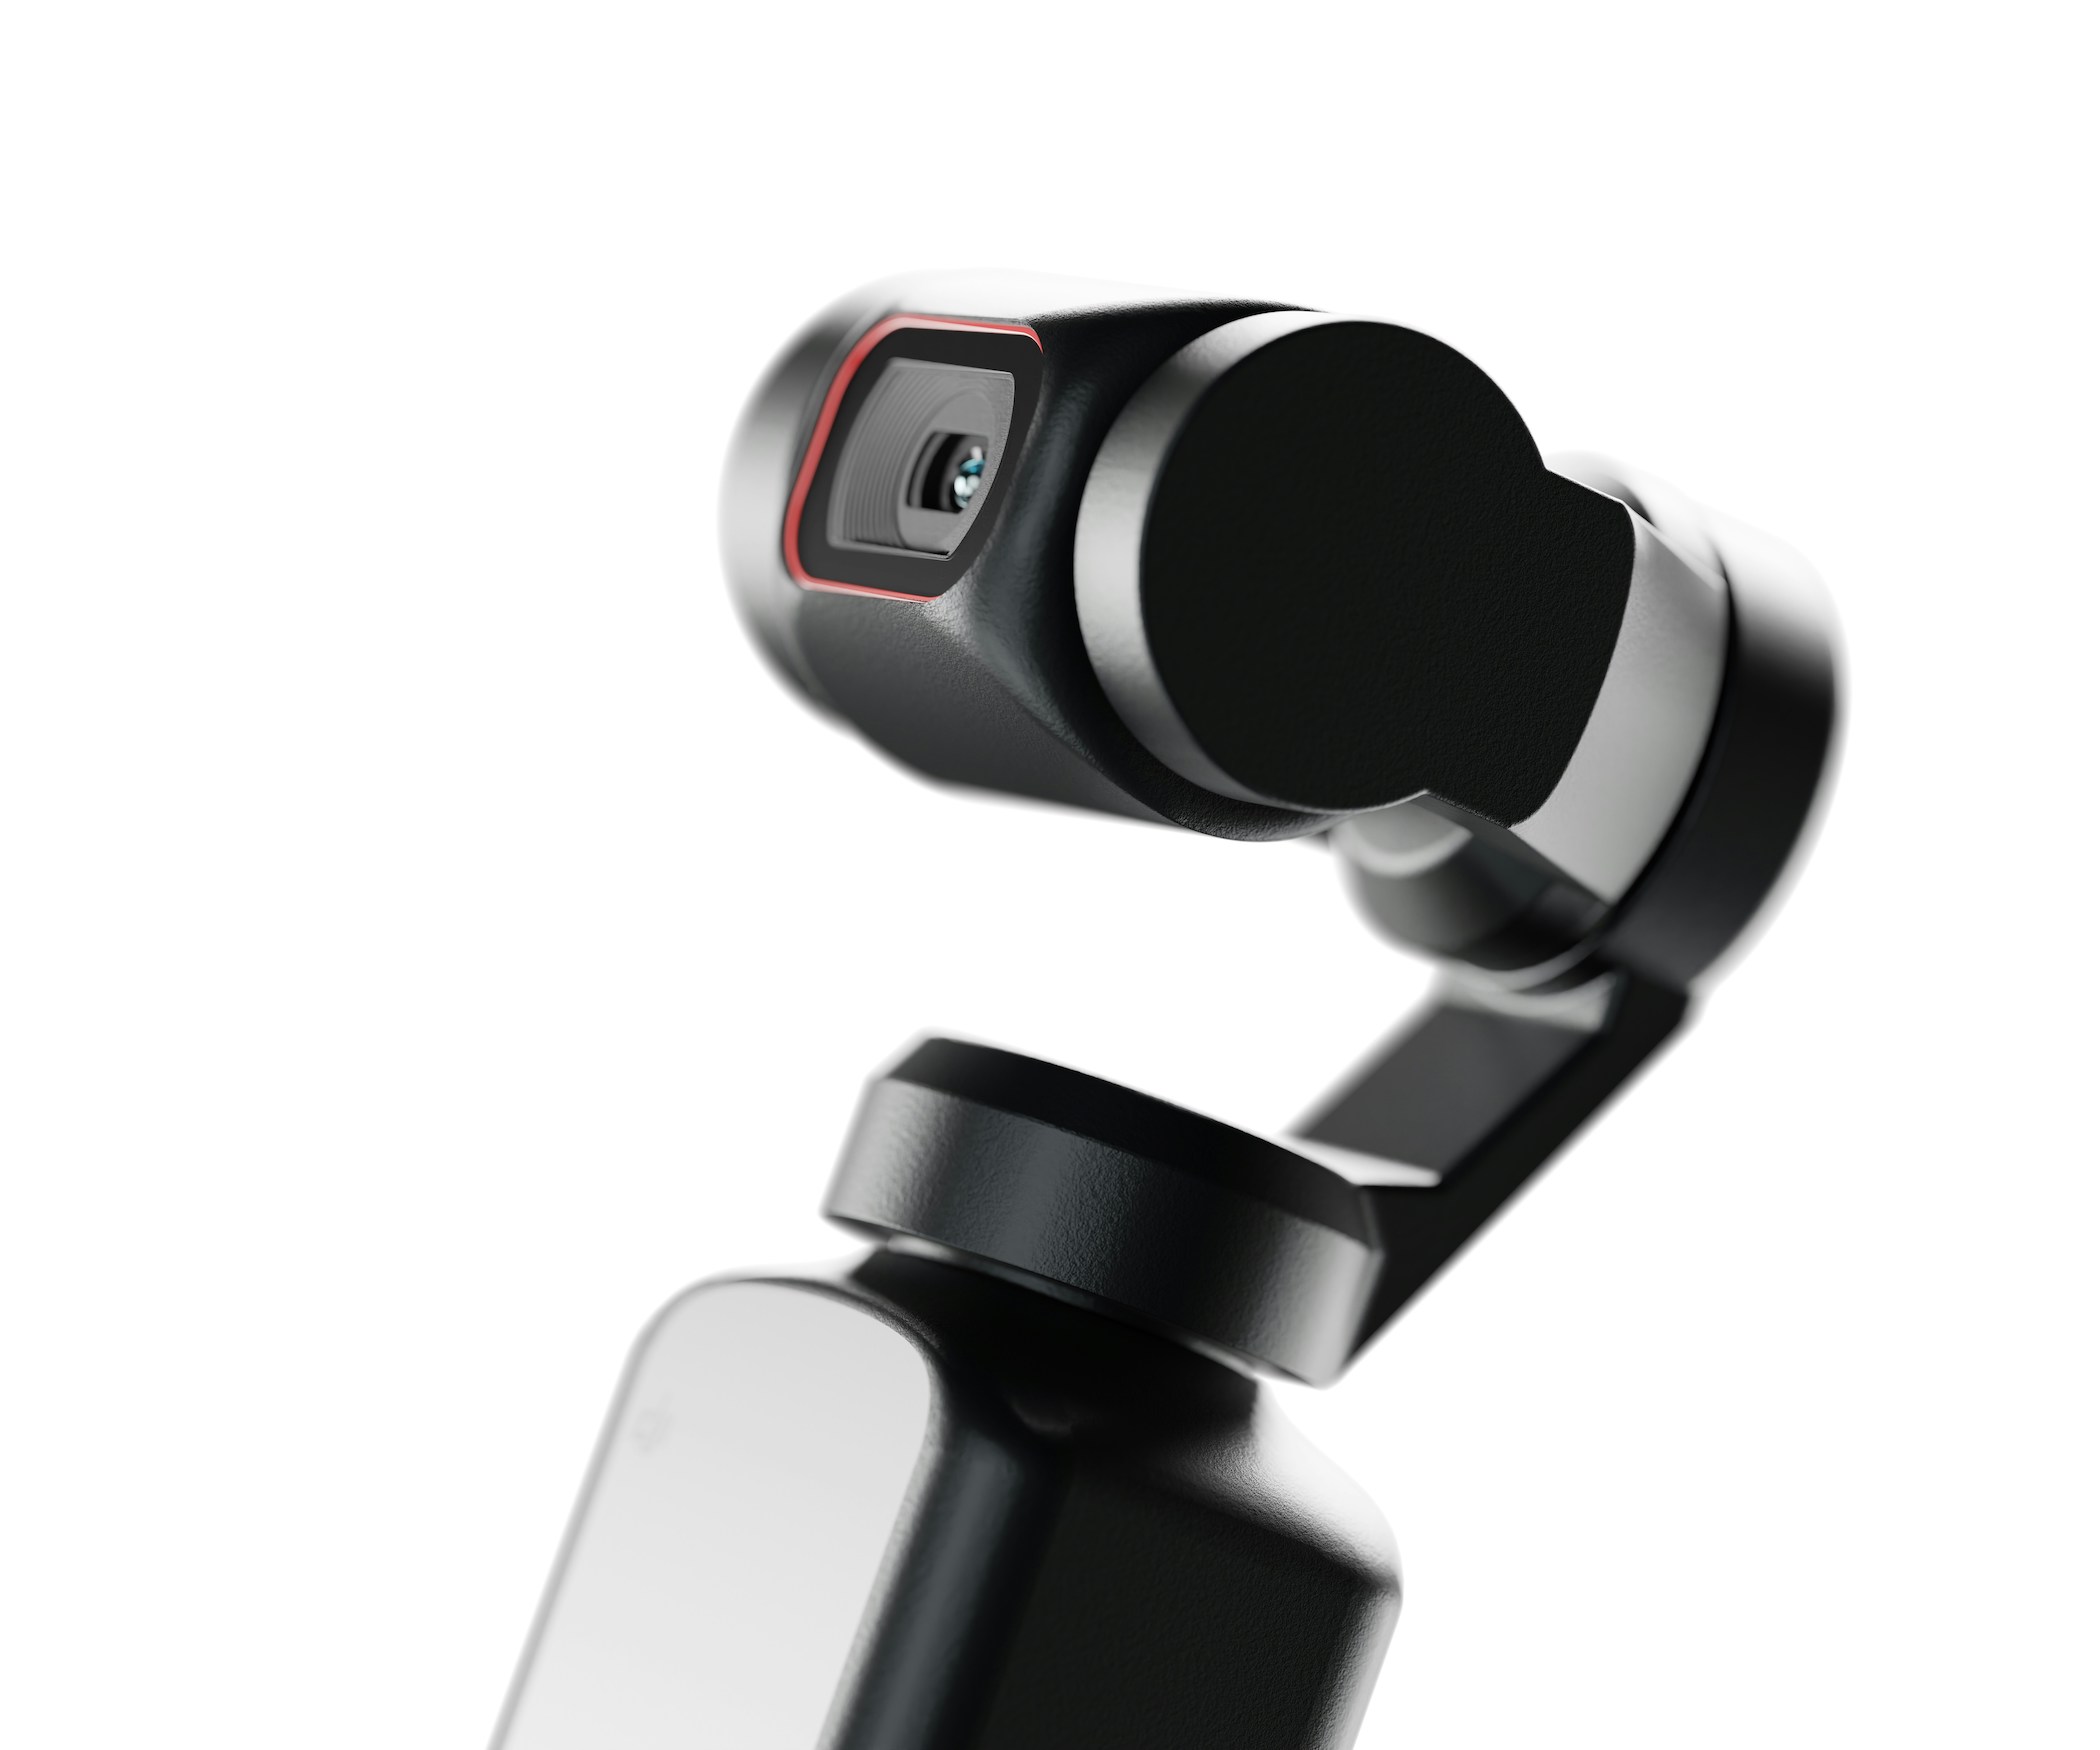
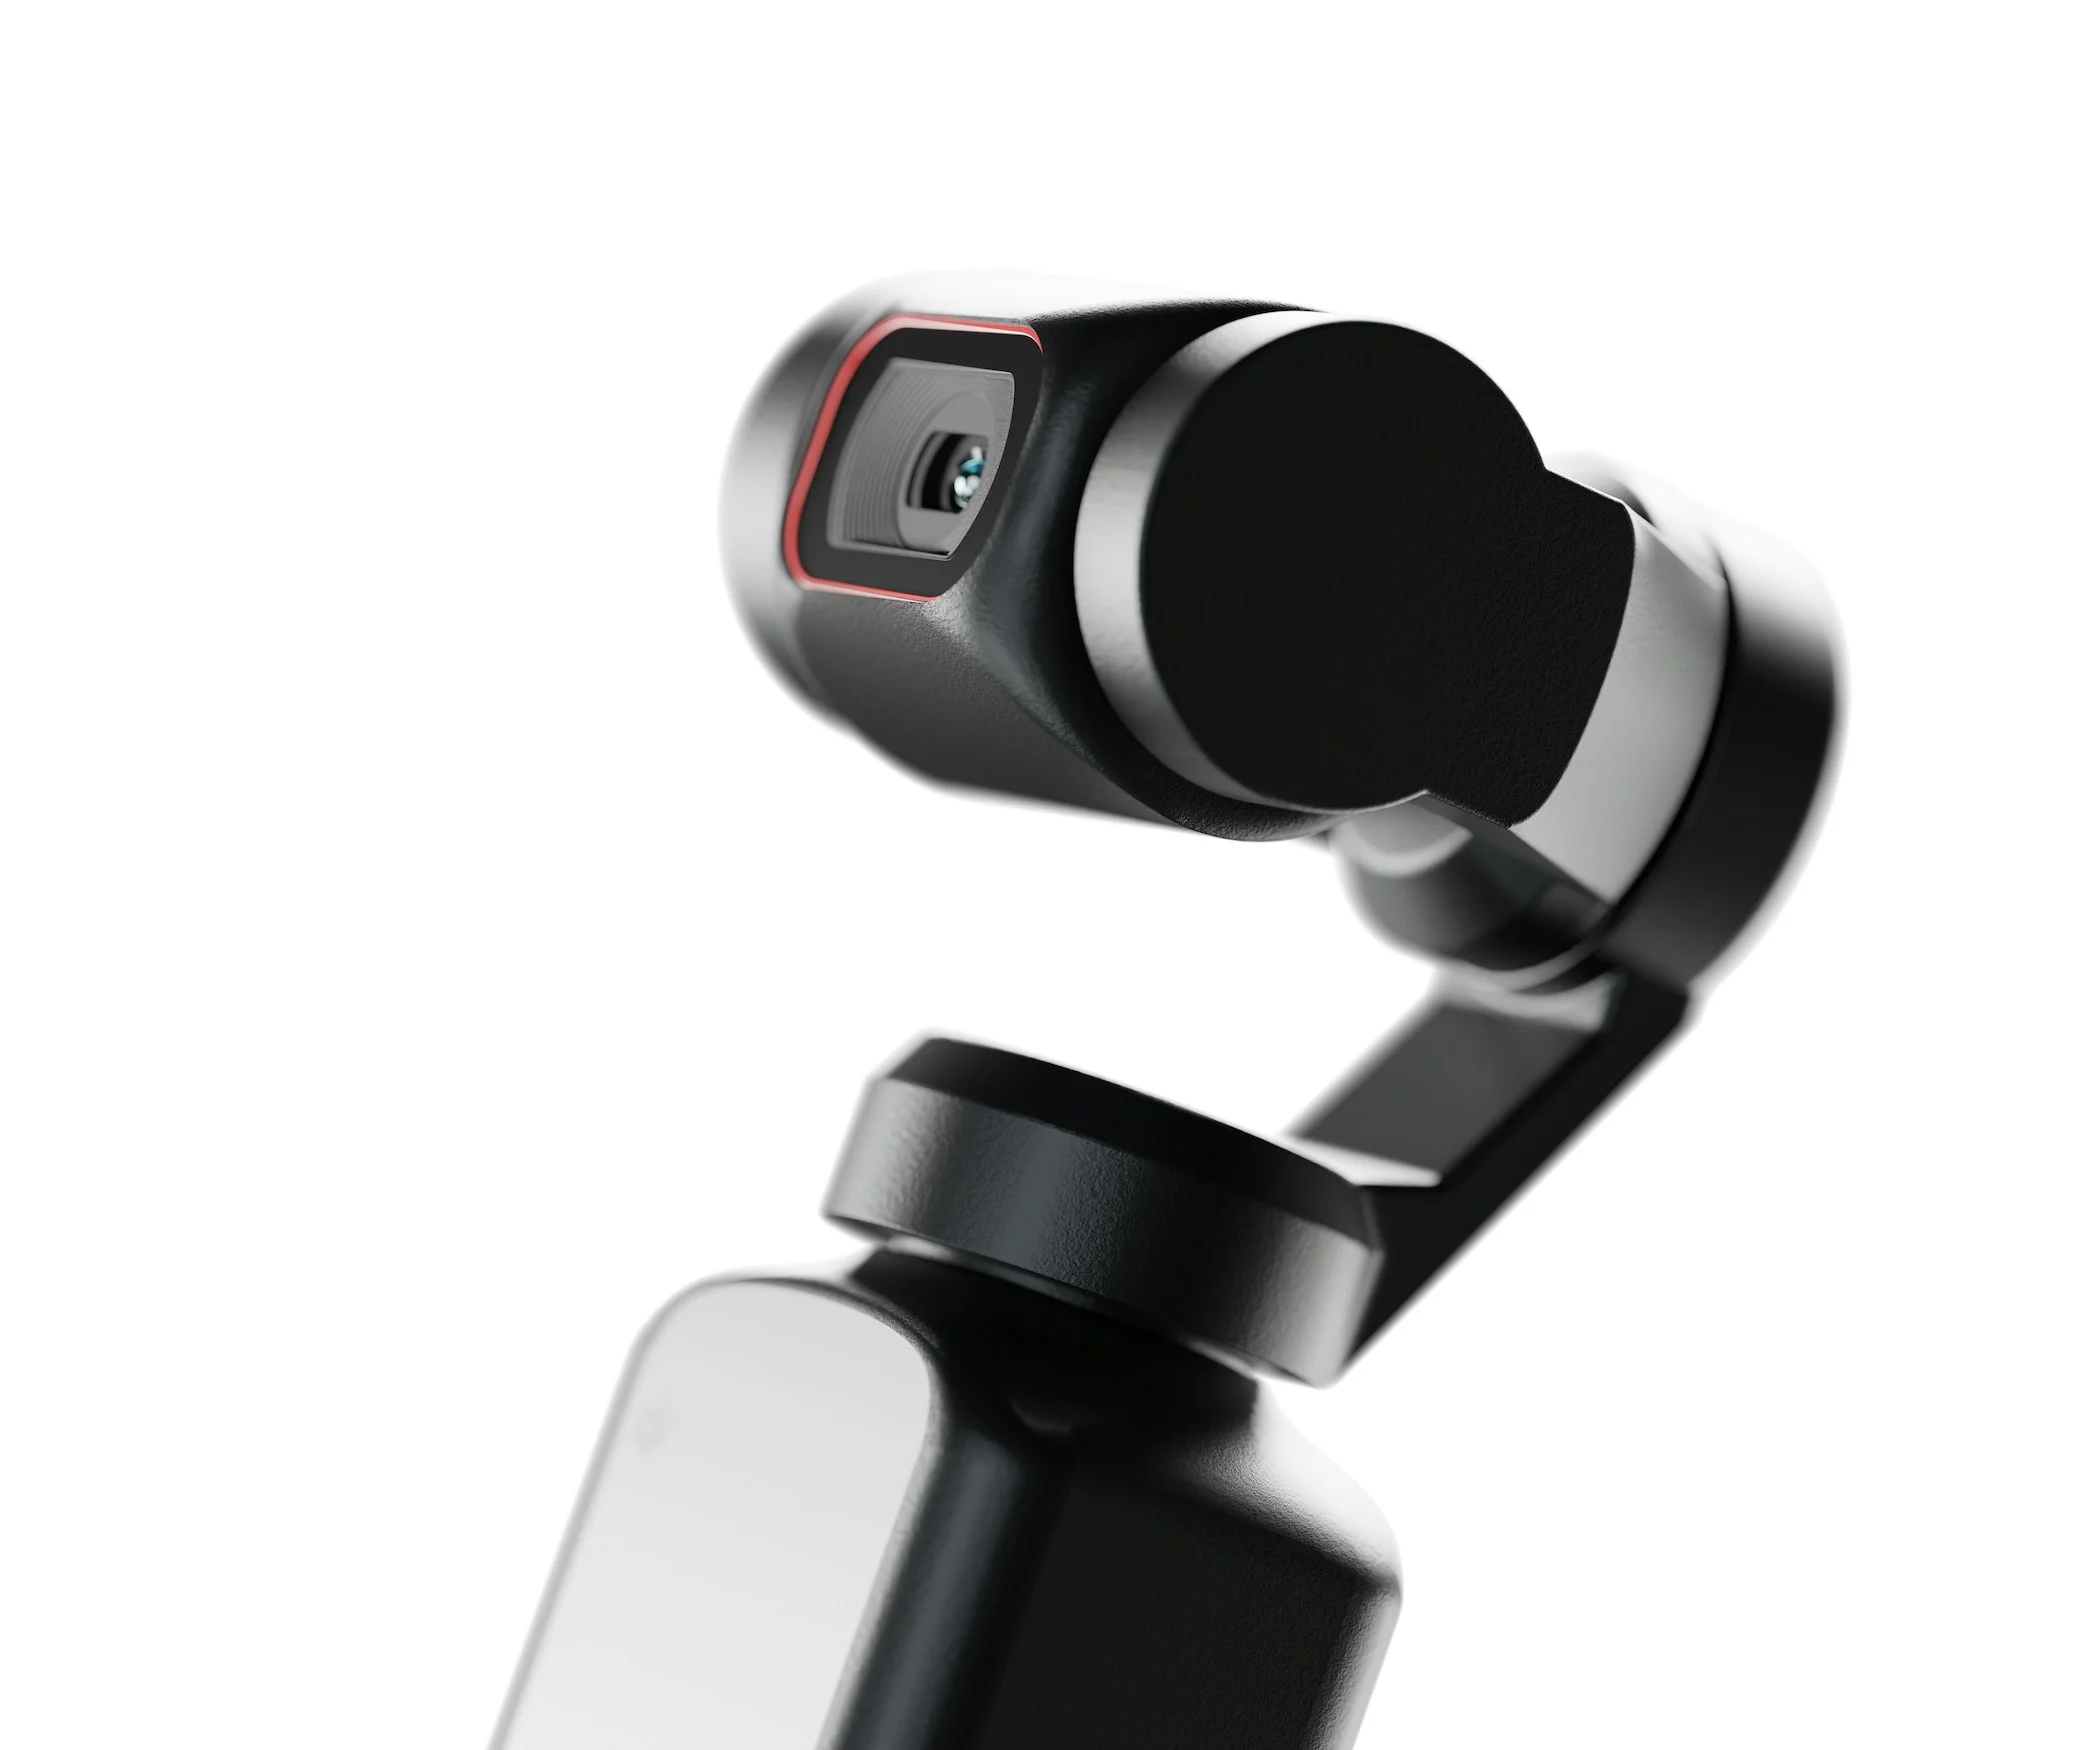
The DJI Pocket makes content creation so seamless! It’s compact, lightweight, and can really improve your content creation game.
In this post, we’ll go over the best photo settings on your DJI Pocket Osmo 3.
Related: Honest DJI Osmo Pocket 3 Review
Best DJI Osmo Pocket Settings for Photos
These are the settings I recommend to capture the best photos using your DJI gimbal.

First things first, you’ll have to turn on your Pocket 3, choose the photo icon (bottom left), and swipe left to get to the photo settings from the photo screen.
Click on PRO (highlights to yellow) to display the settings you will edit. Follow our guide below to get the best settings.
EXPOSURE
Set to: -0.3EV OR -0.7EV (great for reducing highlights and glare in sunny settings or settings with bright light)
Why? Slightly underexposing a video prevents blown-out highlights. We highly recommend getting these Osmo Pocket filters to eliminate blowouts.
White Balance (WB)
Set to: AWB (Auto White Balance) will often do the trick. But if you need more warmth in your images (to reduce the blue hues), turn it on to manual and crank it up to around 4,500+.
Why? WB will automatically adjust to what is needed. You can use manual WB settings, but I found that AWB usually works fine in most settings.
ISO
Set to: 50-6400
Why? Higher ISO is great for capturing content in low-light settings.
ASPECT RATIO
Set to: 16:9
Why? I usually use an aspect ratio of 16:9 becuase I can always crop the video into a square shape.
FOCUS MODE
Set to: Continuous
Why? Focuses on objects that come to view of the lens. You can tap the screen to focus on a subject or use facial tracking by pressing down on the screen.
FORMAT
Set to: JPEG + RAW
Why? If you plan on editing your photos in an app such as Adobe Lightroom or Snapseed (FREE), RAW will allow you to edit a wider range of colors and details. I always shoot in RAW to have the best editing capability.
SLIDER CONTROL
Set to: Zoom
Why? This doesn’t matter as much with photos as it does with video capture. It’s still nice to be able to zoom in if you’re not wanting to adjust your tripod and gimbal setup.
SELFIE FLIP
Set to: Off
Why? Prevents text from being mirrored and reading backward.
GRID
Set to: On
Why? The grids will appear on the screen and help you with framing your subject. I also use this selfie tripod to stabilize the camera while shooting and use a countdown timer on the DJI MIMO App to capture content.
Here are some photos I took with my DJI Pocket 3 and then edited in Lightroom using these exact settings.
The image below was taken with my DJI using the above settings. It looks similar to pictures taken on my iPhone 14 Pro (using 16:9 aspect ratio and 9 Megapixel settings). I love how sharp the DJI image looks on mobile and desktop.
The maximum Pocket 3 image size is 3,840 x 2,160 pixels (9.4 Megapixels) with a 16:9 aspect ratio or 3,072 x 3,072 pixels with a 1:1 aspect ratio.
Unfortunately, the DJI camera does not offer a 4:3 aspect ratio which would probably allow it to capture at 12 Megapixels.
Maybe the next version of the Pocket will offer a maximum of 12 Megapixels.
The iPhone 14 allows you to toggle between two resolutions. The default is 12 Megapixels (4032 x 2268) at 4:3 aspect ratio (this is cropped to 9 Megapixels at 16:9 aspect ratio). You can turn on Pro RAW to get 48 Megapixels. And the difference is striking.!
You get way more detail with the 48 Megapixel lens (8064 x 6048), but it takes up a lot of your built-in mobile phone storage.
However, none of the above will ever look as sharp as my DSLR photos.
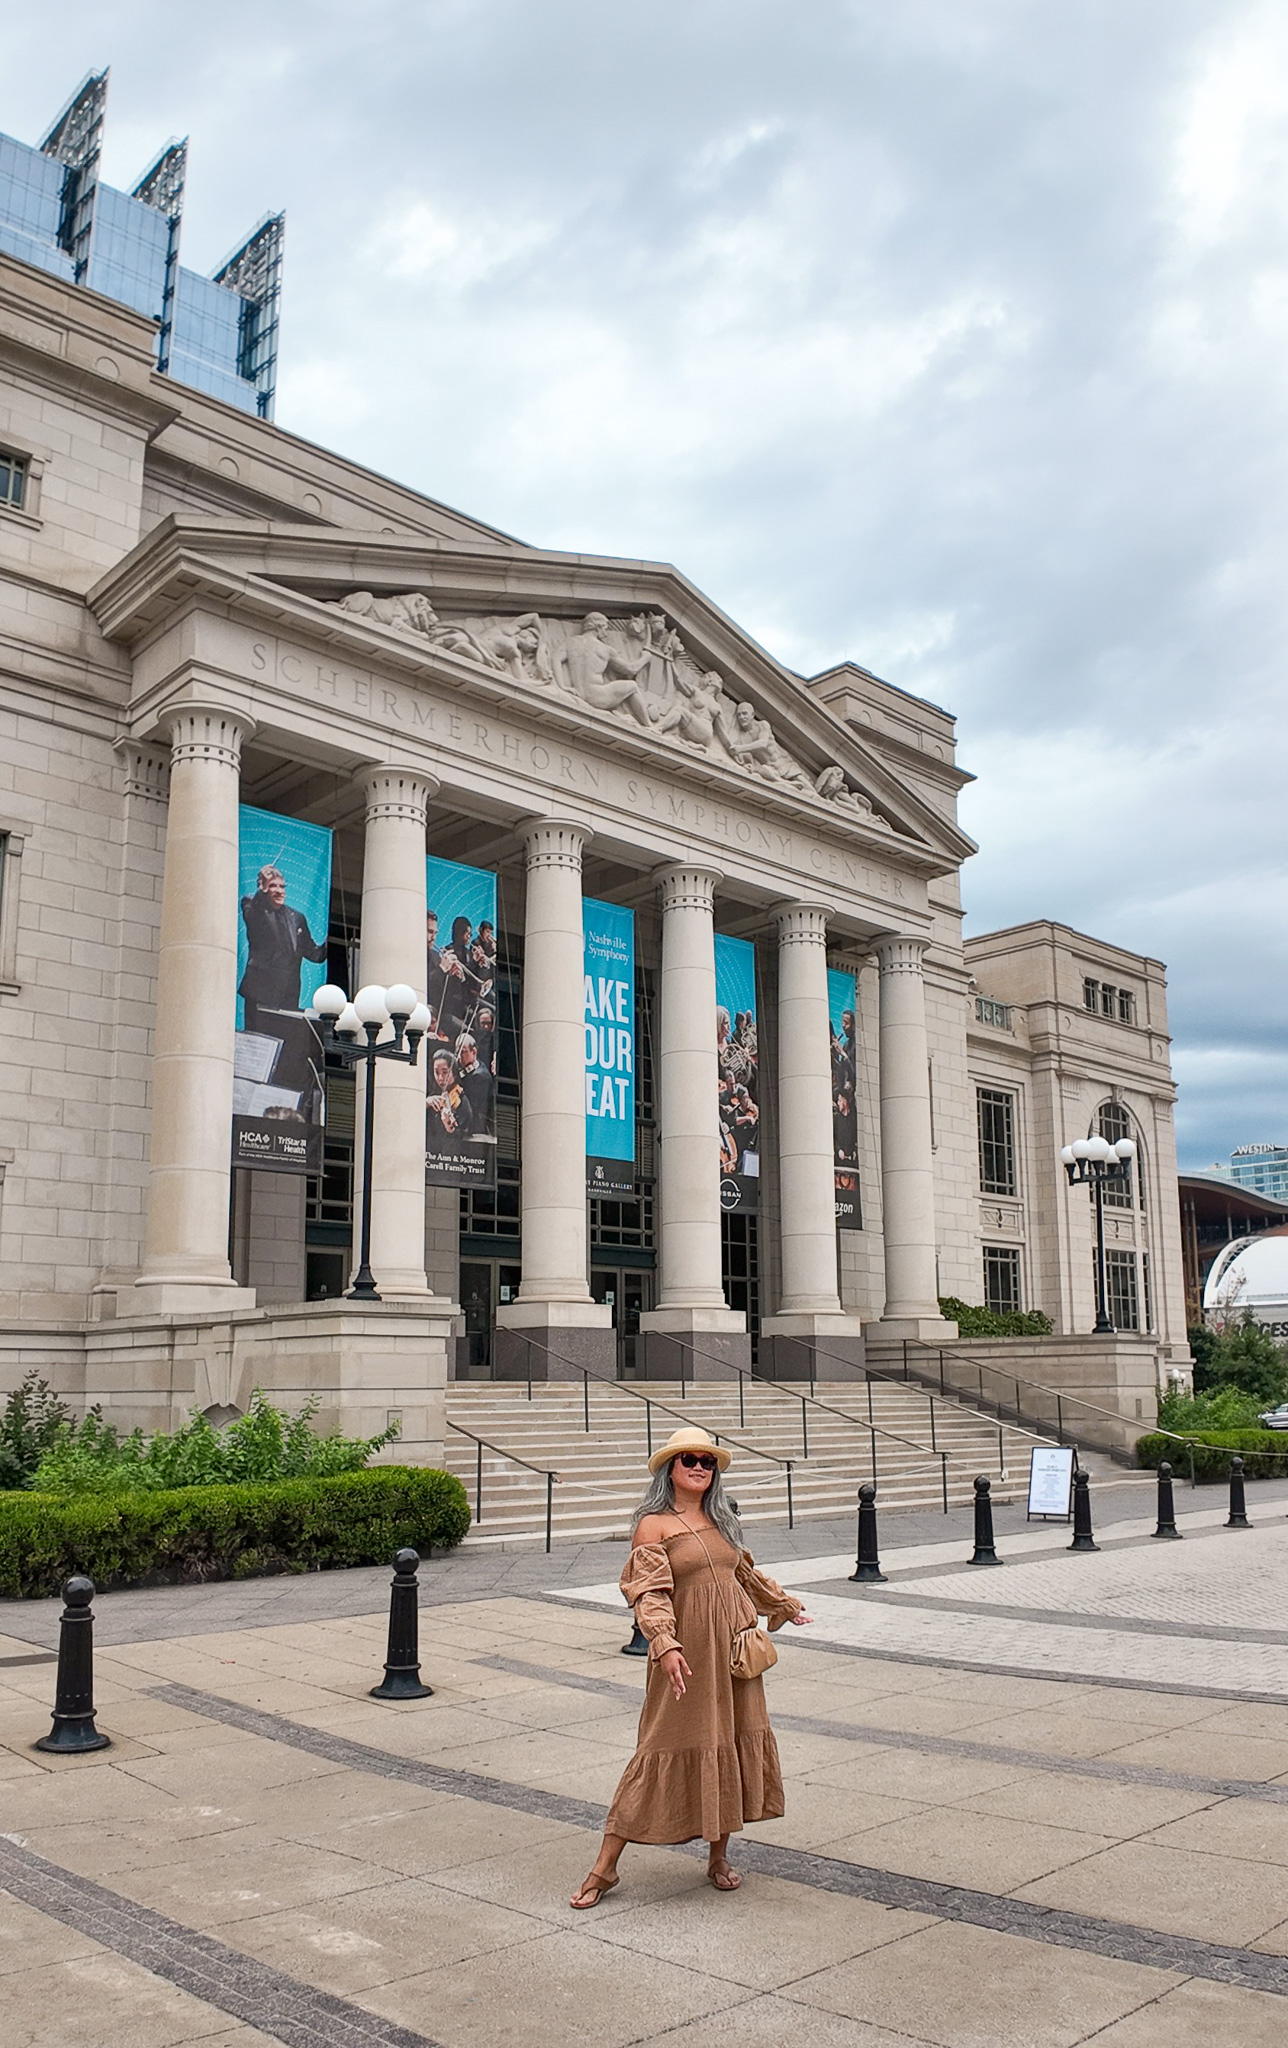
Nashville Symphony Schermerhorn Symphony Center
Here is a DJI photo taken without the JPEG + RAW setting turned on. The image looks much more grainy and there is less detail.
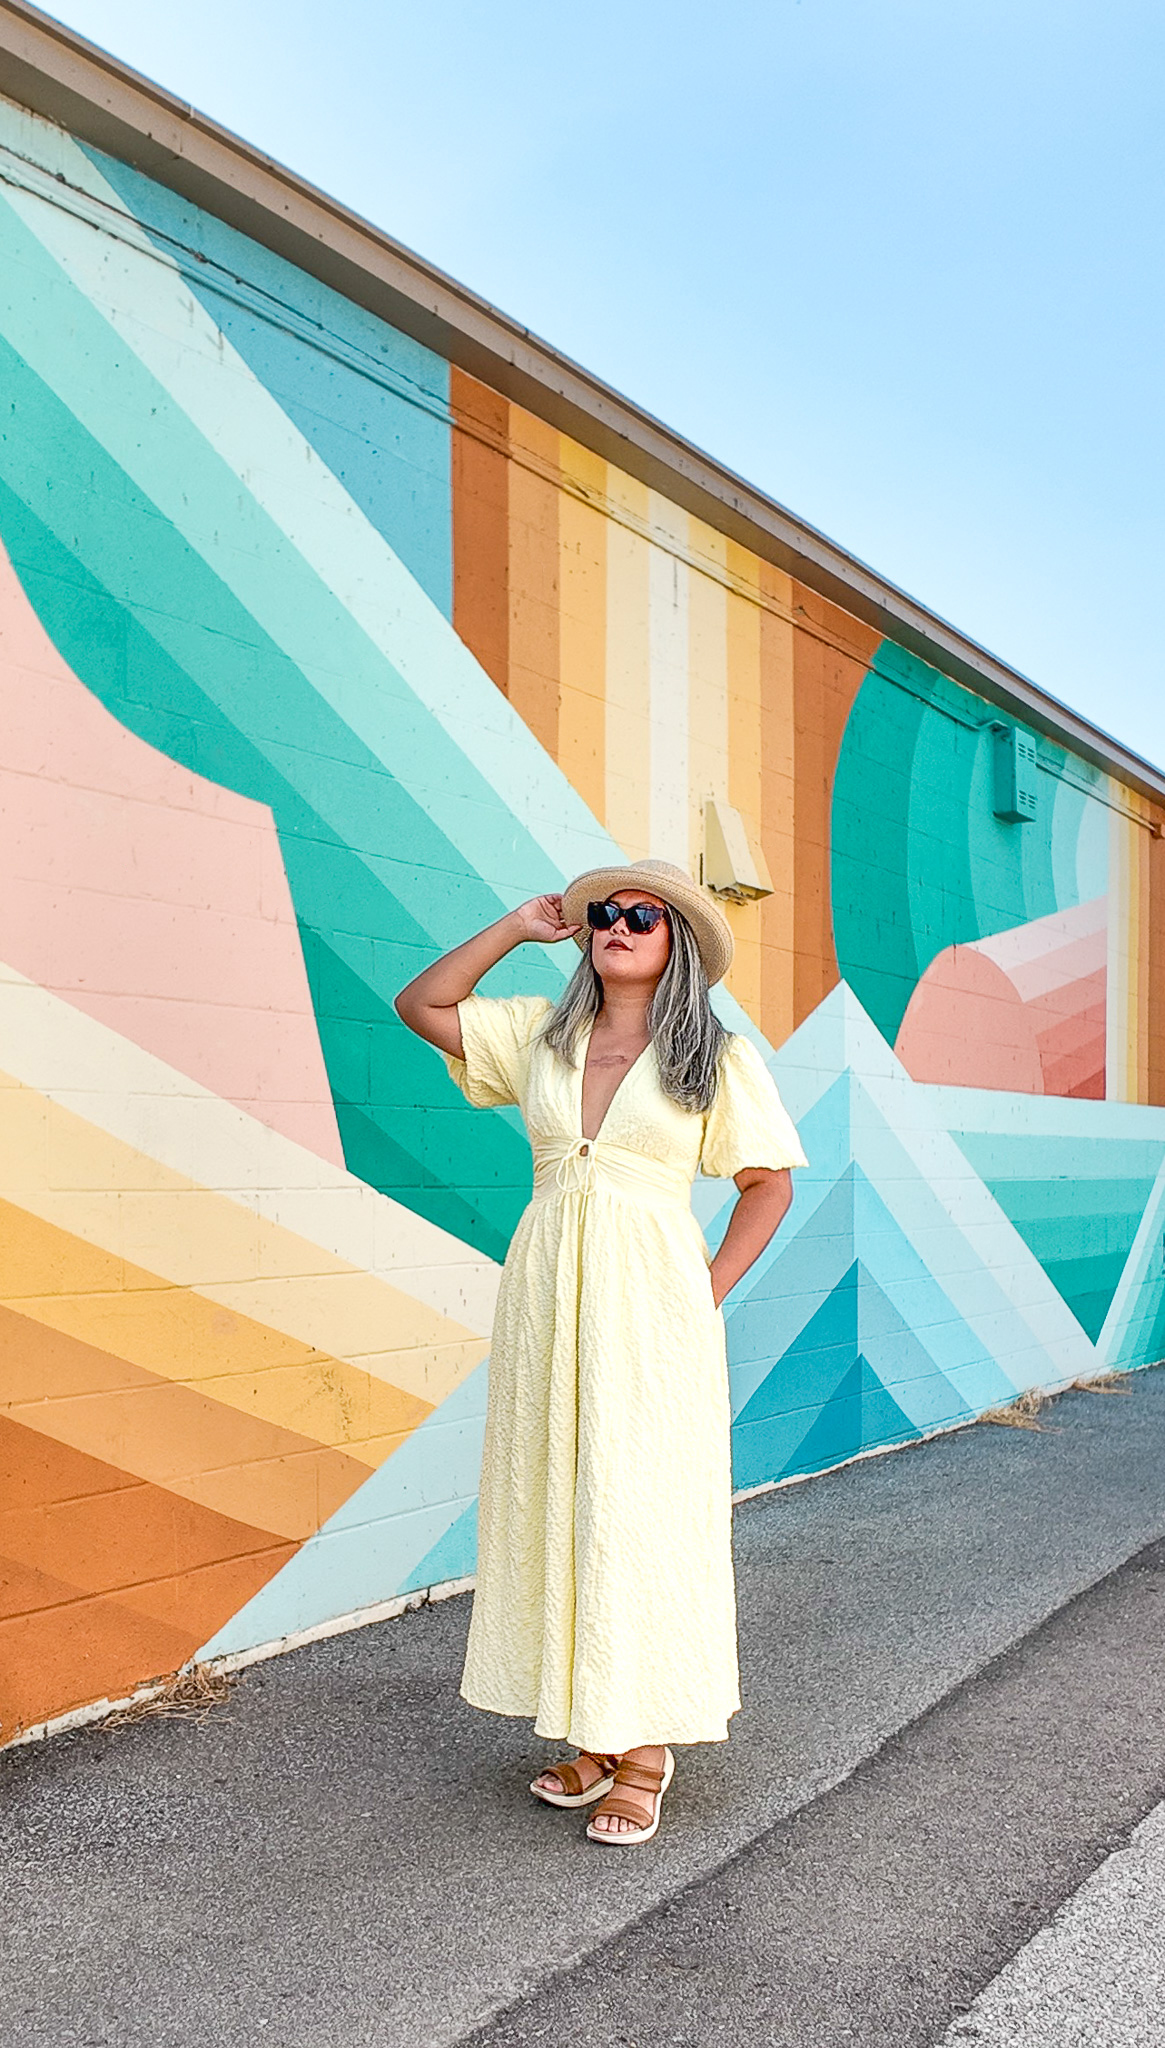
East Nashville Mural
Here is an image taken with my Sony Alpha A7 camera and 35mm lens for comparison.
The image is just so much clearer! I can never give up my DSLR!
I typically shoot with a Sony Alpha A7 camera and the max image resolution is 4000 x 6000 (24 Megapixels).
For people who just want to capture decent photos, the Pocket 3 camera works just fine.
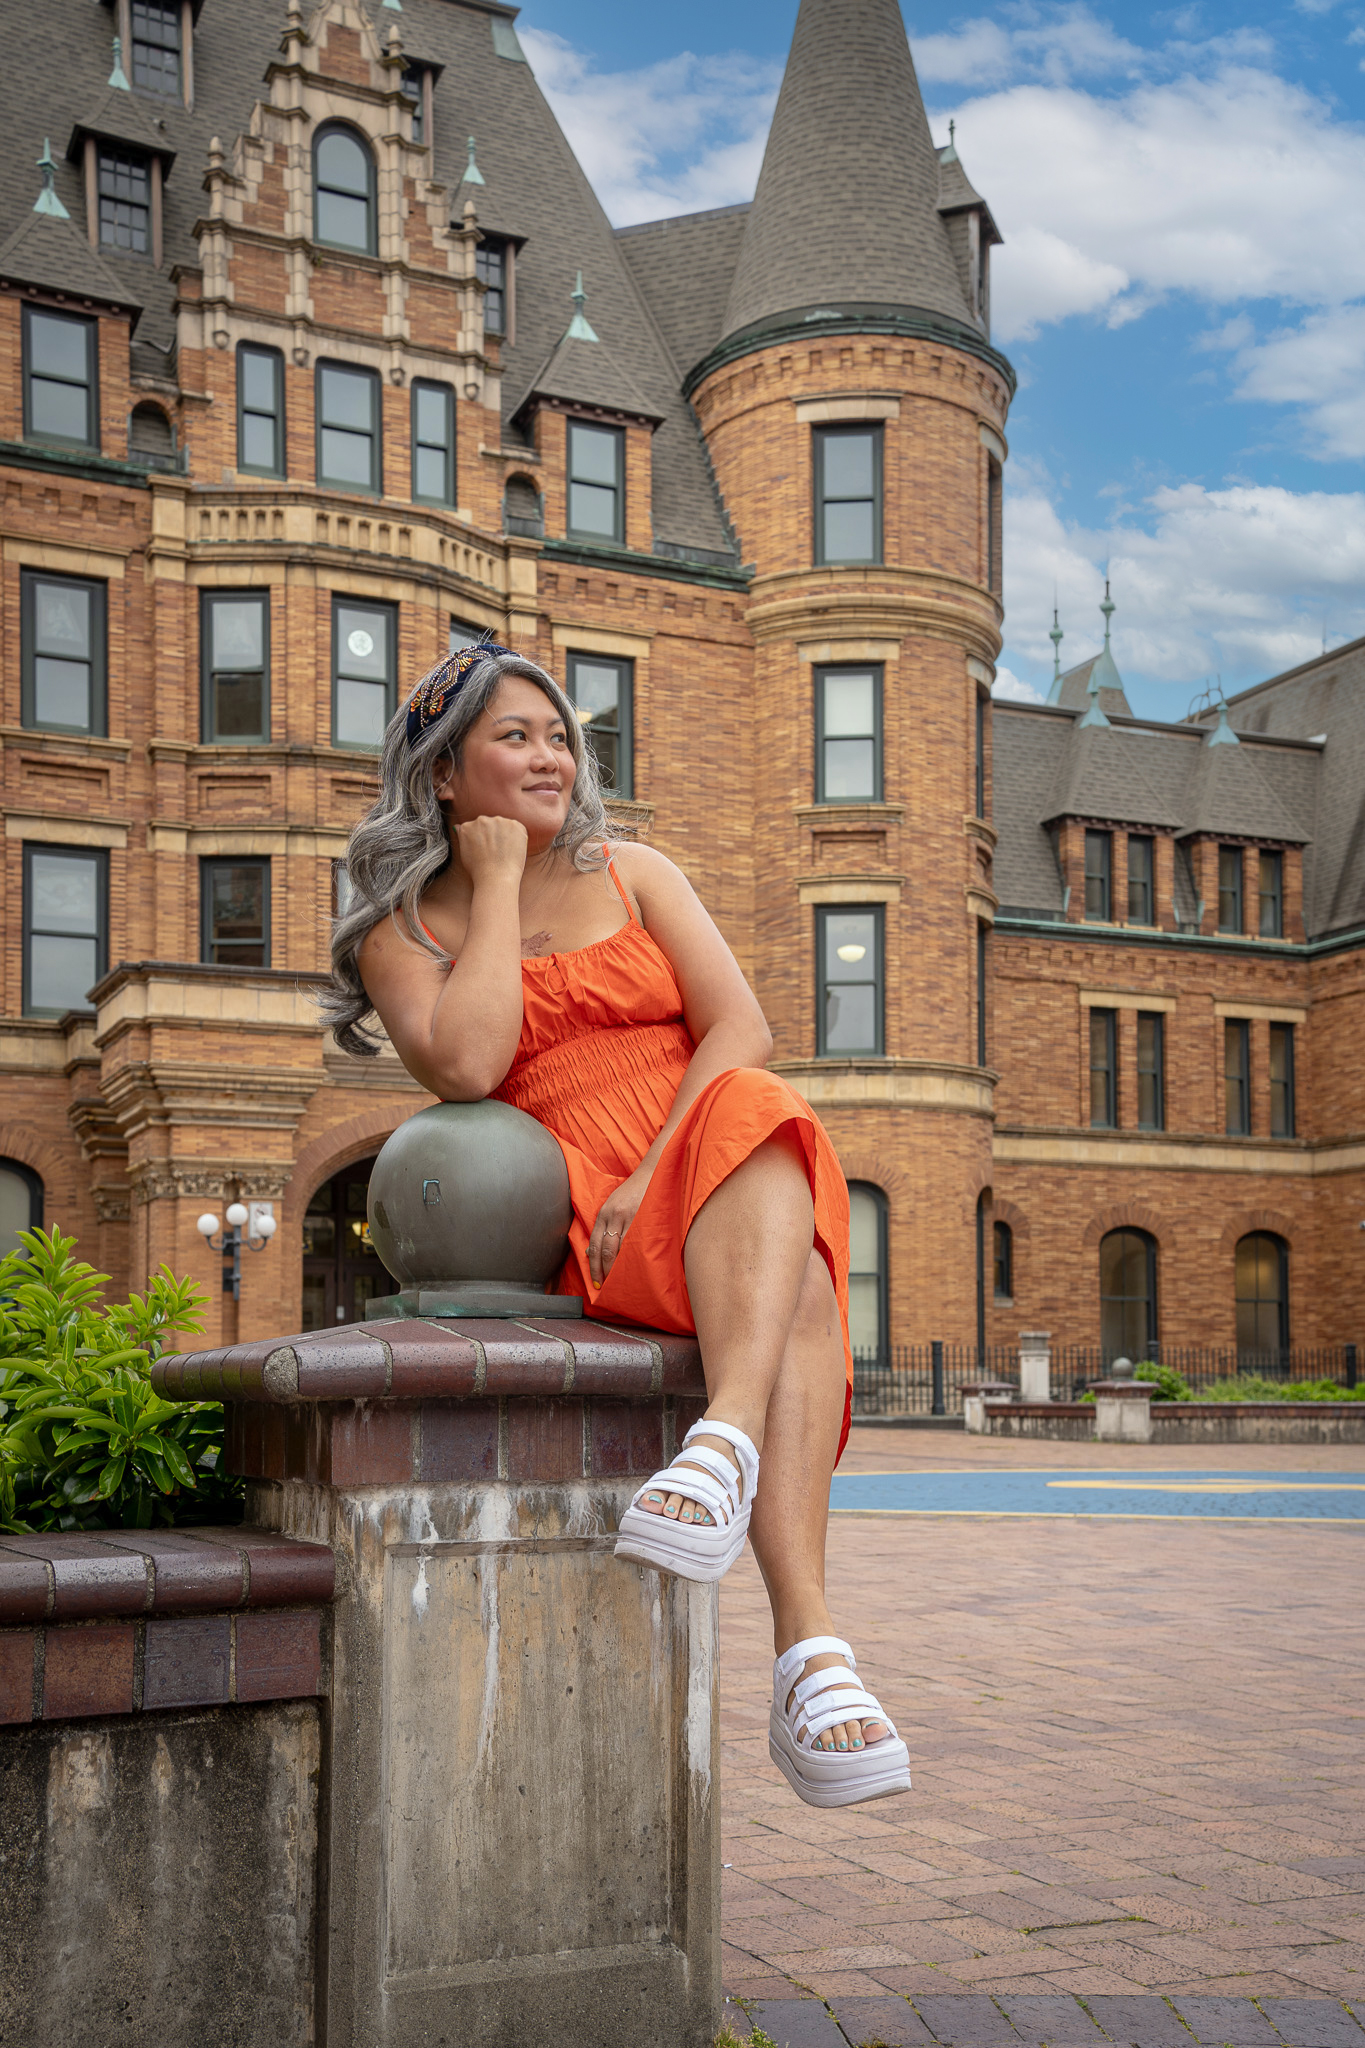
Stadium High School in Tacoma, WA
Related: Honest DJI Osmo Pocket 3 Review
Feel free to use these settings as a starting point. Eventually, you will determine your preferred settings based on trial and error.
Want to learn how to get the best Instagram and TikTok videos using your DJI Pocket? Visit our post about the best DJI Pocket settings for Instagram and TikTok to find out!
Follow us @schimiggy on Instagram for more content creation tips!
Shop DJI Favorites + Accessories
If you found our best DJI Osmo Pocket photo settings helpful, please share this post. Thanks for your support!
Thank you for visiting today! If you found this encouraging or informative, please connect with us on Instagram or TikTok. Sign up for our monthly newsletter for updates and more. We promise we won't spam you! Feel free to unsubscribe anytime. If you're a brand and want to work with us, please visit this page to get in touch.
illinois lottery
Sunday 2nd of November 2025
Thanks for this blog! I learned something new today. By the way, if you’re into games of luck, the illinois lottery might be worth exploring.