Updated: 12/5/2021 | How to Season and Seal Sous Vide Meat
We’ve been about the sous vide life since 2014. It started when we went to a restaurant called Gastropod (RIP) in SoDo (South Downtown Seattle). They operated out of a small “kitchen” that was included a restaurant-grade sous vide bath and a few frying pans on countertop gas stoves.
From this small setup came an abundance of delicious food that we would make weekly trips to SoDo for. Dishes included baked Hama Hama oysters, savory Wagyu Zabuton steaks, okonomiyaki, blood orange clams, black soba noodles and so much more! And what was really awesome about Gastropod is that the menu changed daily and the main Chef, Travis Kukull, even foraged a lot of the ingredients used in his creations.
Now that Gastropod no longer exists, we still wanted to find a way to enjoy sous-vide meat.
We started with our sous video journey using the Anova immersion cooker and eventually graduated to the Mellow. The Mellow allows you to control your sous vide via a mobile app. Start cooking your favorite meats while you’re at work and it’ll be ready when you get home.
Today we’re gonna share with you how we prepare our meats for sous vide. It’s pretty easy and the meat is typically more flavorful, not overcooked and makes even the toughest meats melt in your mouth.
Let’s delve into how to season and seal sous vide meat so that it lasts a long time and provides a delicious protein addition to your meals.
Here’s what you need:
- Foodsaver® – We have the model FM3920 that comes with a vacuum and quick marinate mode.
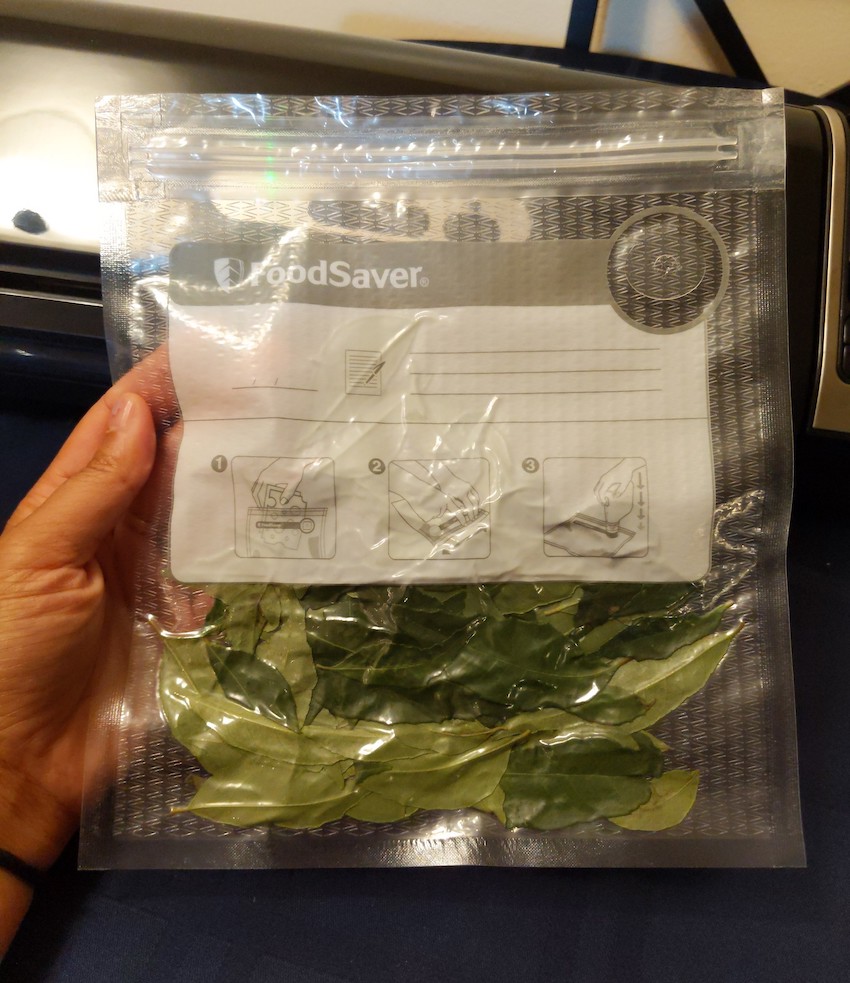
- Foodsaver® bags and rolls – We always have the Foodsaver® rolls in stock in our home. Our Foodsaver® model came with zip bags that could be used with the vacuum. We also switched to using biodegradable Food Vacbags once our Foodsaver bags were out. The results were still the same and the bags cost less. Use this link for 10% off your orders.
- Meat – We bought a tri-tip roast and eye of round roast from Costco. You’ll need a membership to buy meat at one of their stores.
- Seasonings
- 1 tablespoon Garlic Powder (can sub with fresh sliced garlic)
- 1 tablespoon Ground Cumin
- 1 tablespoon Onion Powder (can sub with 1/3 fresh sliced onion)
- 1 1/2 tablespoon of Vegetable Oil (we used corn oil)
- Table Ground Black Pepper and Sea Salt
- Large Baking Pan – We use a large baking pan instead of a cutting board to prep and marinate meats.
How to Marinate Meat for Sous Vide Cooking
- Clean the large baking pan and dry it with a towel.
- Place the meats on the tray 2 large cuts at a time.
- Sprinkle 1/2 of the seasoning on one side and all of the vegetable oil onto the meat.
- Begin to massage the seasoning into the meat using your hands. Flip the meat and season the other side with the rest of the seasoning.
- Continue to massage the seasoning into the meat for another 1-2 minutes.
- After you’re done seasoning your meat, place the marinated meat into the bags and follow your Foodsaver® model’s instructions.
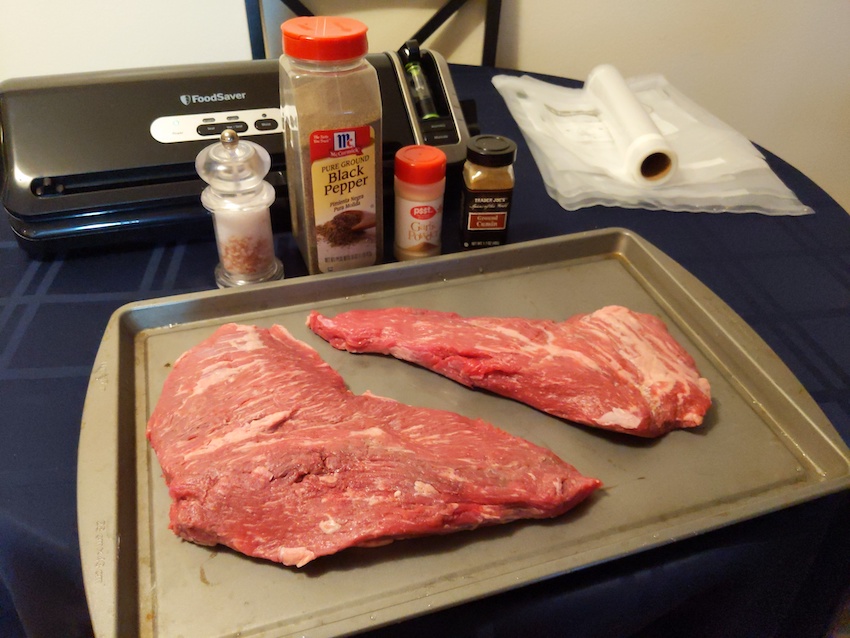
Gather your marination ingredients.
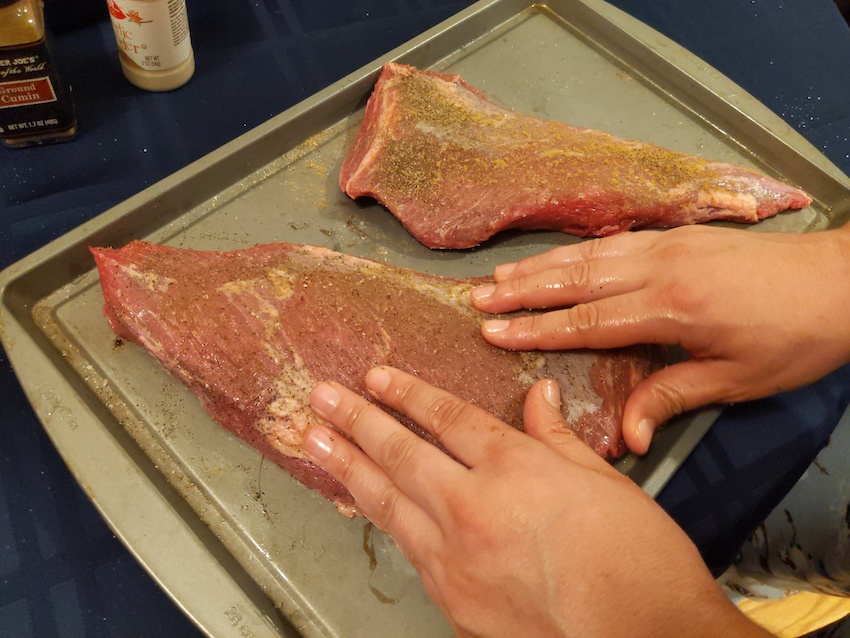
Massage and marinate the meat using your hands.
How to Seal Your Meat Using a Foodsaver® Vacuum Seal
Each model is different, so you should consult with the guide book on how to use your Foodsaver®. When sealing our meats, it took us less than a minute to seal our meats.
We can offer some tips to ensure that your Foodsaver® vacuum seal is a success.
- Make sure that you leave at least 3″ of slack from the top of the meat to the edge that is being sealed. This will give you enough room to seal as well as prevent too much of your marinade from leaking out of the vacuum-sealed bag.
- Double seal your vacuum bags. This will ensure that if the seal breaks during the cooking process, water will not leak into your meat and ruin it.
- Instructions Included – Most Foodsaver® machines will have instructions on a sticker where the built-in Foodsaver® roll sits.
- Freeze Your Food – Once your food is sealed, you can freeze it or cook it right away. You can seal both vegetables and meats. Using a Foodsaver® allows your food to stay fresher longer and prevent freezer burn and food waste. The removal of air prevents mold from accumulating on your food, thus preserving it for longer.
- Compact Design – The Foodsaver®’s compact design is great for our 2 bedroom condo in Downtown Seattle. There are many sizes and we opted for the one with the vacuum adapter to make food storage quick and easy.
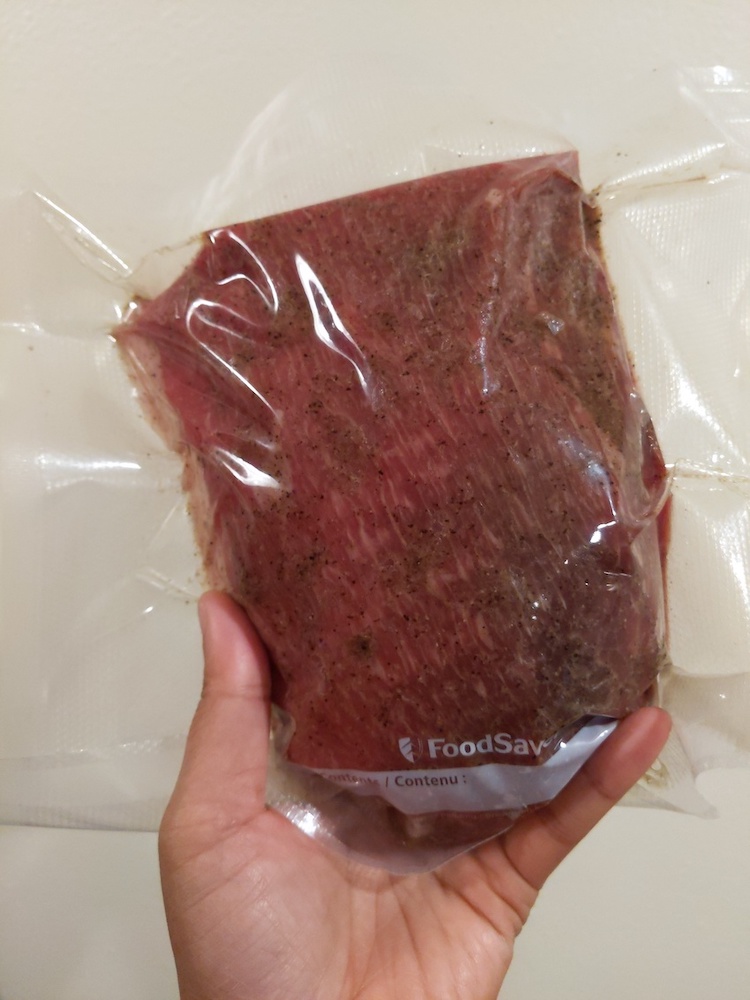
The meat is vacuum sealed within seconds. It’s ready to for the sous vide or can be frozen.
Foodsaver® Discount Codes
Ready to get your own Foodsaver®?
Foodsaver® is currently offering Schimiggy Reviews readers 15% off any purchase until 10/31. Use code FOODSAVER15.
I received the Foodsaver® to review on my blog. All thoughts and opinions are my own and as always, 100% honest.
Thank you for visiting today! If you found this encouraging or informative, please connect with us on Instagram or TikTok. Sign up for our monthly newsletter for updates and more. We promise we won't spam you! Feel free to unsubscribe anytime. If you're a brand and want to work with us, please visit this page to get in touch.


Muse
Friday 8th of October 2021
Thank you so much admin for uploading such amazing content with us your blog is really helpful for me. wish you all the best for upcoming comments. I am also wanted to write blog kindly guide me if my topic is seismic sensor manufacturers then what should I do first and how will I create new and unique content on this topic