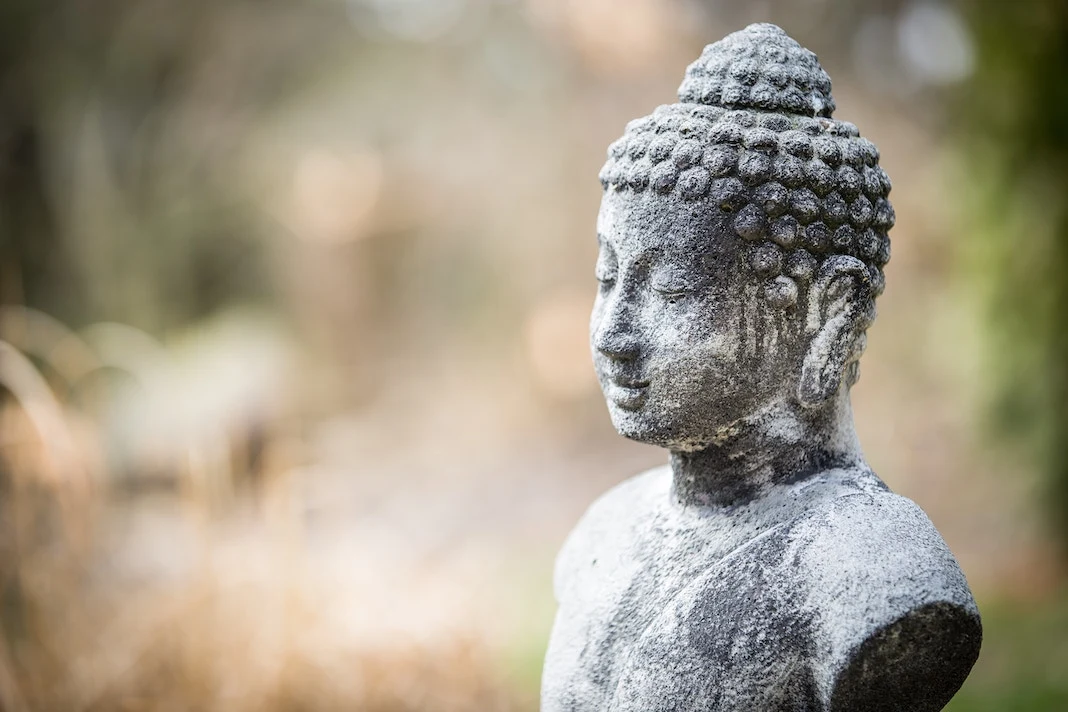
A healthy lifestyle should always include the body and mind. A healthy mind is able to unplug when restorative resources are needed. A healthy and clear mind is also able to fully concentrate on the task at hand when called upon.
In our modern world, we’re bombarded with pollution on every level – not only air pollution, but noise, visual, and maybe most of all, informational pollution. All of these negative elements that we take in on a daily basis must somehow be set aside or even flushed away so that we can live longer and healthier lives.
The functioning of our brain is strongly connected to the way we treat our body. From what we eat, to how we move, to what we wear, to the people we associate with. The list goes on. Most people tend to reach a certain point in their lives where self-improvement starts to become a priority, and thus needed are yoga poses to improve concentration.
Self-improvement can manifest physically and mentally. We tend to think the way we look is more important than how we think and feel. It’s a result of how we treat our bodies, and that starts with training the mind to think and behave in a certain way.
We have discussed before that diets fads don’t work! Diet fads such as Paleo, Atkins, HCG injections, Dukan, Keto and even those without known side effects, still exert a fair amount of strain and stress on the body. Some even leave the brain weak because it lacks the proper nutrients.
In order to be able to help ourselves see beyond health as a physical manifestation, we need to train the brain to make better decisions.
If you are familiar with the practice of yoga, you may know it is a highly effective way to hone in on our ability to concentrate. The body is not the only part of you that benefits from a regular yoga practice as your mind does too.
When our minds can think clearly, we can make better decisions.
Yoga Poses to Improve Concentration
Here are 7 yoga poses that are recommended to help you concentrate better. All you need is a yoga mat, your body and some time.
#1 Padmasana or Lotus Pose
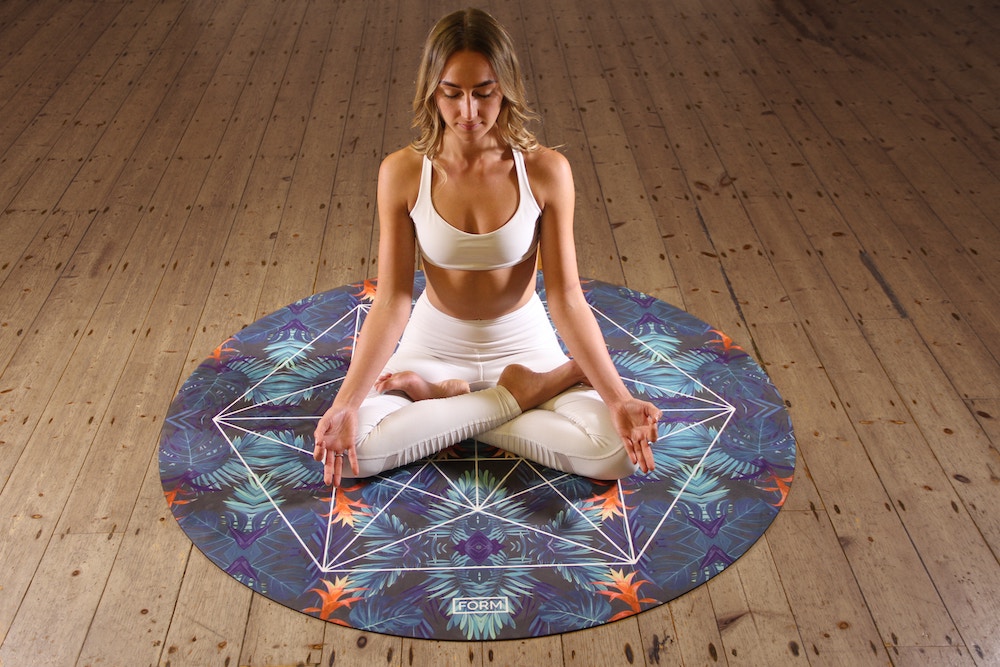
Padmasana, also known as the lotus pose, is one of the more popular yoga poses. Lotus pose creates a peace of mind and a sense of relief. The pose requires tension release. Being able to find stillness in Padmasana is reflective of your current state of mind.
How to Get Into Lotus Pose:
Sit down on a hard surface with your legs extended in front of you. Keep your spine erect as you begin to fold your right heels into your left hip flexor (front of the hip). You can rest in Ardha Padmasana (Half Lotus Pose) or start or bend your opposite leg and bring your left heel over and into your right hip flexor.
Bring your heels as close to your abdomen as possible and leave the soles of your feet pointing up towards the ceiling or sky. Position your hands above your knees into a Guyan or Jnana Mudra. Connect the tips of your right hand thumb and index finger and leave the rest of your fingers extended.
Copy the hand position in your left hand. Close your eyes and take 15-20 deep breaths in Padmasana and switch the direction of your legs (opposite leg on top).
This pose requires open hips. We recommend getting into this pose towards the end of your practice when your body has warmed up. If you need more support, feel free to use blocks, a blanket or rest your spine against a wall.
#2 Halasana or Plow Pose
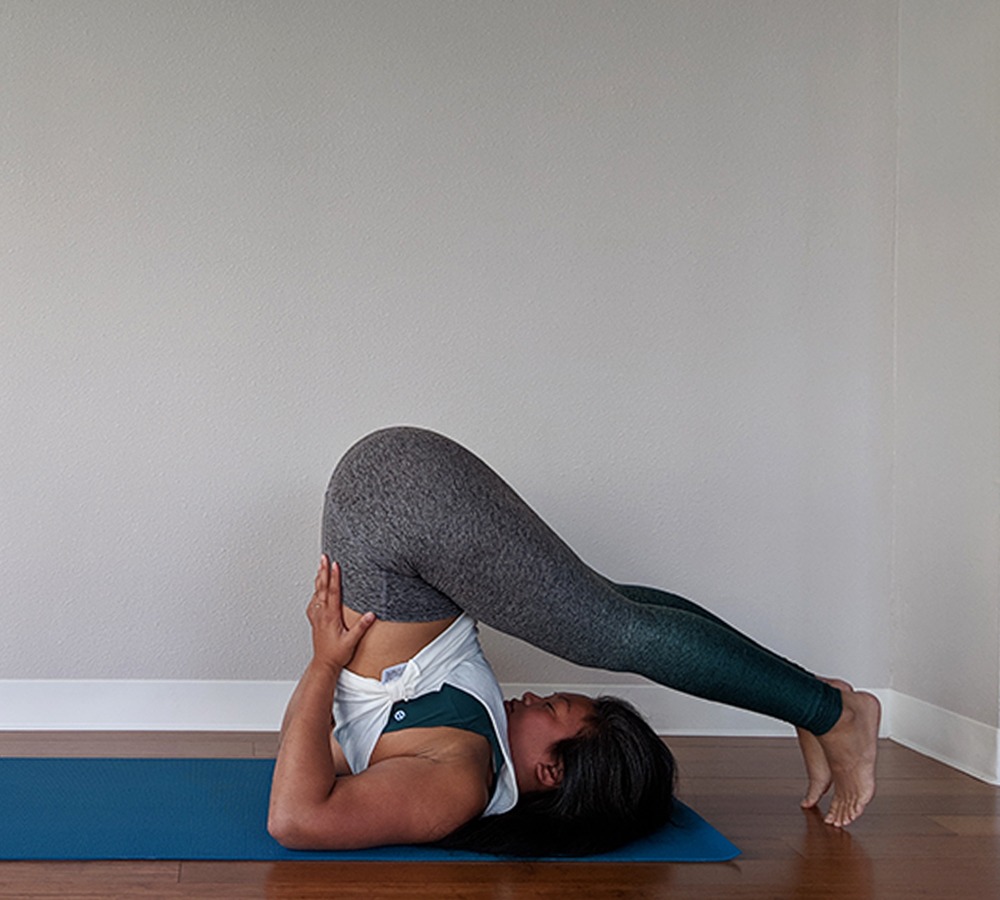
Halasana, or the plow pose, helps increase overall vitality, calms the nerves, and helps with improving blood circulation. It’s also a frontal back bend which helps to increase mobility and strength in the spine.
How to Get Into Plow Pose:
In order to correctly perform this pose, you need to lie down with your backside facing the floor. Extend your arms down by your side with palms towards the floor. Take a deep inhale. As you exhale, flex your ab muscles and begin to slowly bring your legs over your head until your hips are over your shoulders.
Press your shoulders and triceps into the ground to prevent weight bearing on your spine. Ultimately, your toes will touch the ground behind your mat. It’s also OK your feet don’t touch the ground.
Breathe steadily in this pose for 15-20 breaths. You can bring the palms of your hands to your lower back for more support. From here you will have a foundation to go into shoulder-stand if that is in your practice.
To come out, extend your arms down your mat with palms and fingers pressing into the ground. Slowly move your vertebrae down the mat one at a time until your hips land on the floor. As you exhale, slowly bring your legs all the way to the ground in a supine position (Savasana).
#3 Vajrasana or Thunderbolt Pose
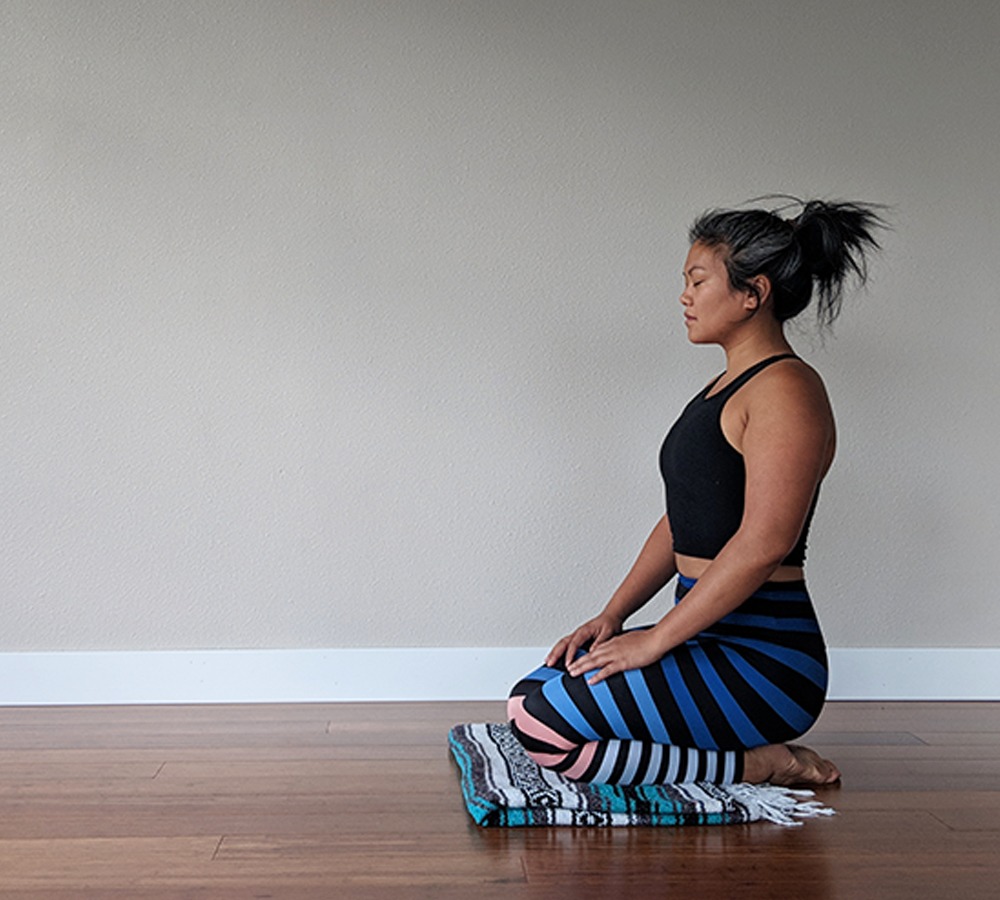
Vajrasana, also called the adamantine pose, is a kneeling asana that is great for improving concentration, joint mobility and digestion.
How to Get Into Thunderbolt Pose:
Bring your shins to the floor while keeping your toes untucked and big toes touching. Sit your glutes onto your heels and keep your knees touching. Keep your spine erect and over your glutes. Your chin is parallel to the floor, your chest is open, and your palms can rest above your thighs. Stay here for 20-25 breaths.
If you need more support, use a blanket under your shins or block under your glutes.
#4 Anulom Viloma Pranayama or Alternate Nostril Breathing
Anulom Viloma Pranayama is often referred to as alternate nostril breathing. It’s a method of shifting our breath so that it requires more concentration.
Anulom Viloma is great to practice right before starting your yoga routine. The technique is used as a filter to clear the mind and sinus. This practice creates equilibrium between the right and left sides of the brain.
How to Do Alternate Nostril Breathing:
Sit down in a seated yoga pose of your choosing. With your right hand, Bring your middle and index fingers to the area between your eyebrows. With your thumb, press against the top outer edge of your right nostril and breathe into your left nostril. Hold the breath. Begin to uncover the right nostril and close the left nostril with your pinky and ring finger. Exhale through the right nostril.
You can count your breaths (up to 4, 6, 8 or even 10). Do this six times on one side and then repeat the same process in the other direction using the opposite hand and starting the inhale with the opposite nostril.
#5 Padangusthasana or Big Toe Pose/Seated Forward Fold
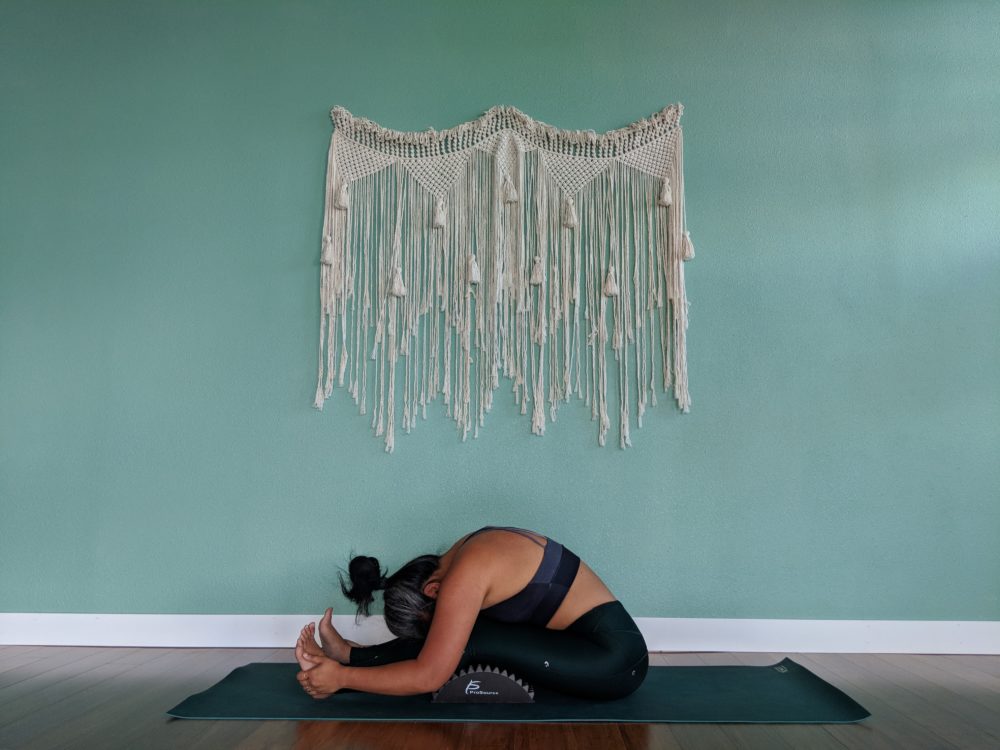
Padangusthasana or Seated forward fold
Padangusthasana is also known as the big toe pose. Big toe pose helps to soothe the brain and alleviate stress and anxiety. It also helps to lengthen the spine and stimulate your metabolism.
How to Get Into Big Toe Pose:
Sit on the floor with your legs extended in front of you. Keep the spine erect and vertebrae stacked over your hips. With a straight spine, start to walk your hands towards your feet and hinge at the hips. Your hands can rest on the sides of your calves or you can go further and wrap your hands around the outer edges of your feet. You can also wrap your peace fingers around your big toes.
Keep your chest open and extended towards your toes. This will keep your spine from curling and collapsing. Relax your hamstrings and only lower your forehead to your shins if your chest is connected to the tops of your thighs.
Hold this pose for 15-20 breaths. To get out, release your hands from your feet and start to walk the hands back to the hips while keeping the spine erect. This will require core engagement.
For more support, use a pranayama bolster under your knees or a yoga strap to wrap around your feet. The strap around the feet is helpful for people who cannot make the hand to foot connection in a forward fold yet.
#6 Udgeeth Pranayama or Om Chanting
Udgeeth Pranayama, or Omkari jap, is a breathing exercise that is recommended in the mornings and when you have time, in short sessions throughout the day.
How to do Om Chanting:
Sit straight in the pose of your liking while inhaling deeply, then exhaling while you chant that natural Om from the back of your throat. For about 5 to 10 minutes. You can set a timer if it is helpful. Over time, you will be able to gauge how long your meditation sessions last.
Improving concentration means improving your capability to stay grounded, improving the capacity of reaching and controlling a state of flow easily, and improving your ability to perform self-discipline in every aspect of your life.
#7 Vriksasana or Tree Pose
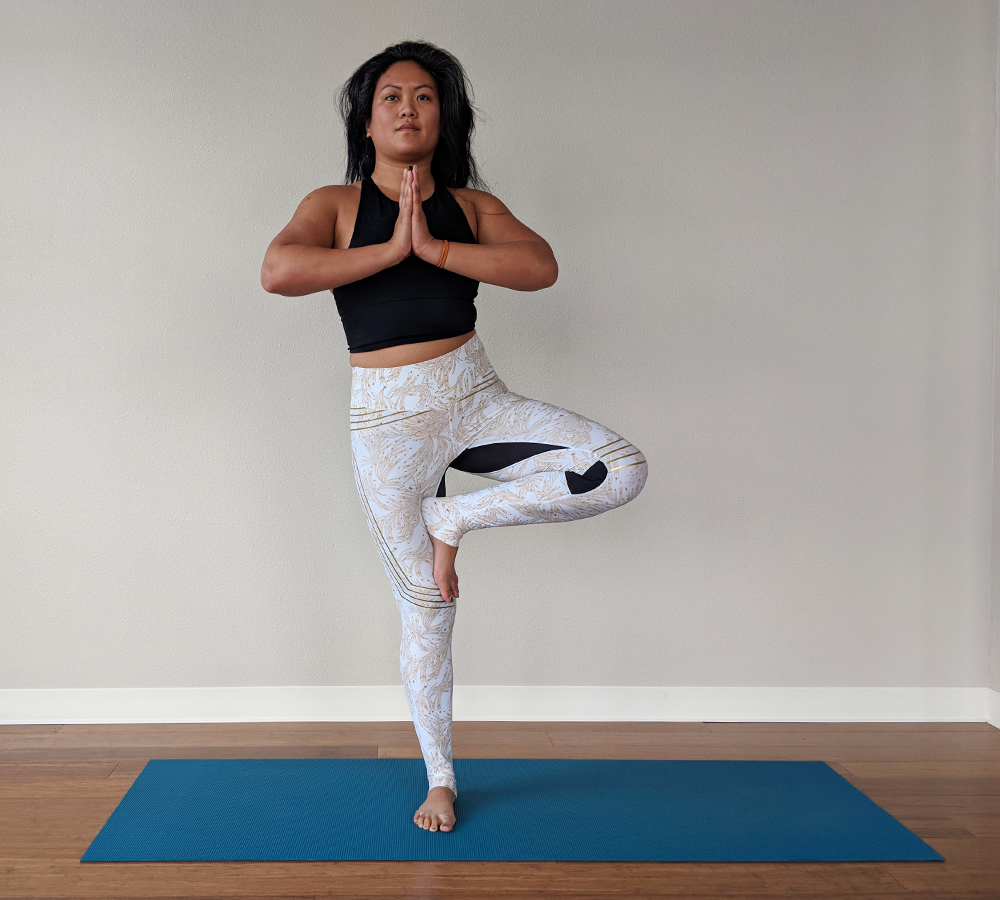
Tree Pose
You can’t leave out balancing from your practice. Vrikshasana or Tree Pose great for increasing concentration, strengthening and learning how your muscles function with one another. This is what makes it one of the best yoga poses to improve concentration.
How to Get Into Tree Pose:
Stand upright with your feet flat on the floor (Tadasana or Mountain Pose). Shift weight into your left foot and begin to lift your right leg until your knee is in line with your hip. Use your right hand to place the sole of the right foot into your inner left thigh. Press the sole of the right foot into your thigh to keep the leg in place. You can bring hands to your hips to help you balance.
You can also bring hands to Anjali Mudra (prayer hands) at your check, or raise both arms towards the ceiling with palms facing one another.
Stay in this pose for 15-20 breaths and then switch sides.
Final Thoughts
We highly recommend incorporating these yoga poses for concentration in your daily practice. Find time in your class, at work or even in the home to incorporate some or all of these asanas (yoga poses).
Concentration doesn’t come easy, so we recommend doing it often and spending as much as possible within each pose. The more time dedicated to ourselves, the better the outcomes will be for our mind, body and the world in which we live.
Thank you for visiting today! If you found this encouraging or informative, please connect with us on Instagram or TikTok. Sign up for our monthly newsletter for updates and more. We promise we won't spam you! Feel free to unsubscribe anytime. If you're a brand and want to work with us, please visit this page to get in touch.

